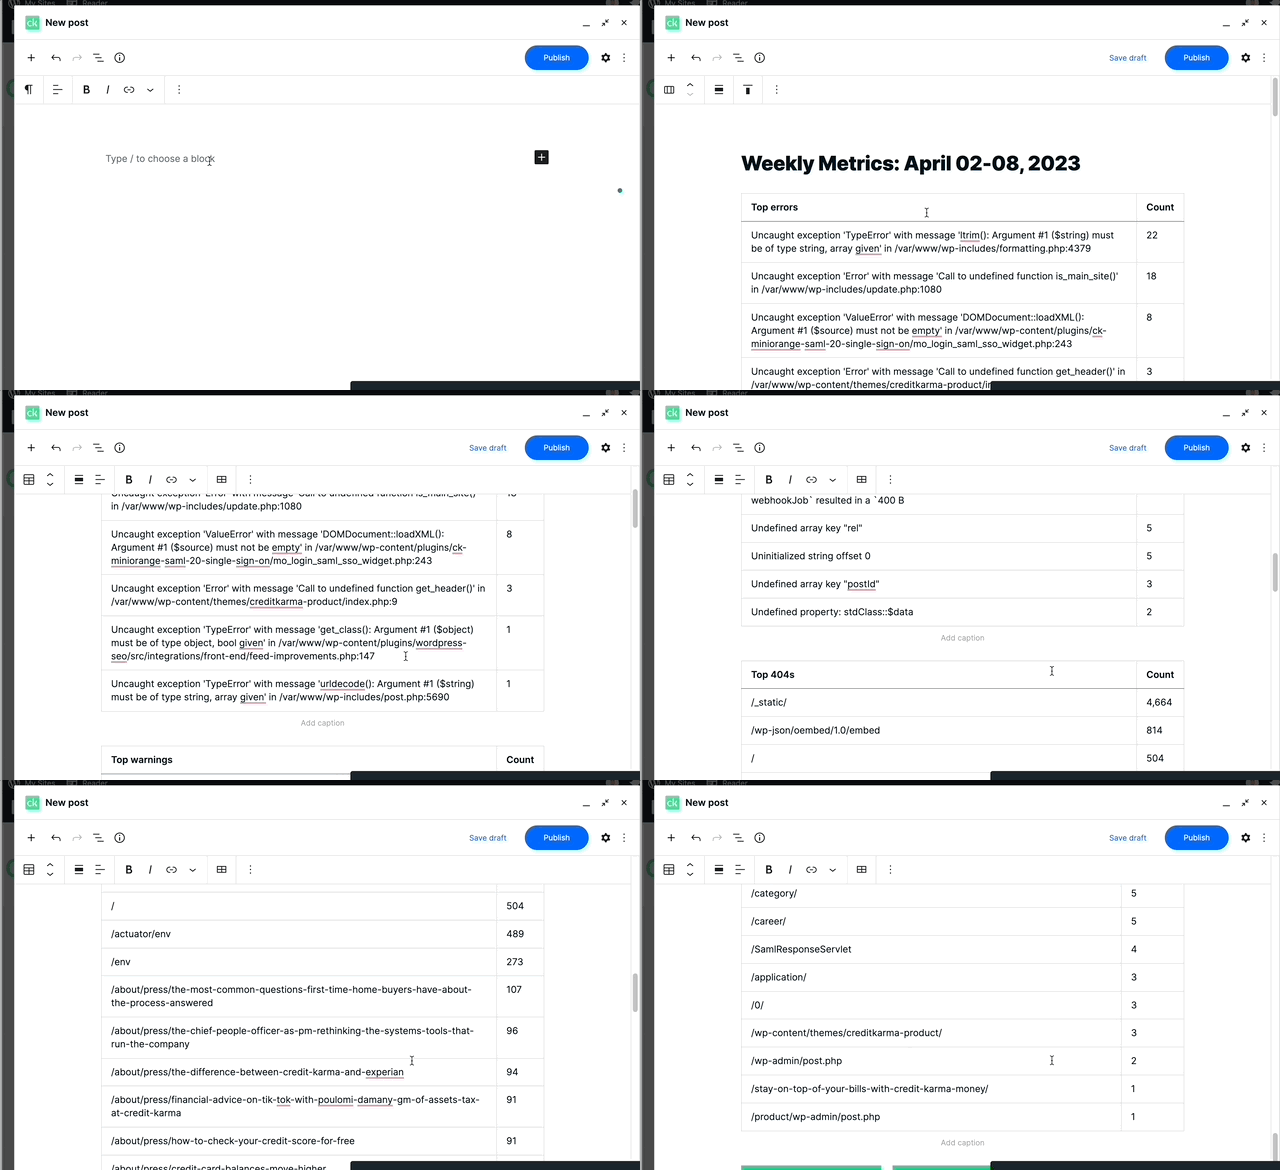
This script will help to generate a P2-ready post with weekly metrics from New Relic.
How to use it
- Download the pre-built plugin from the releases page.
- Install the plugin on your WordPress site.
- Add your New Relic API key (
NEW_RELIC_API_KEY) to your site’s environment variables. See the WPVIP documentation for more information on managing environment variables. - Optionally, you can add your Jetpack (JP_APIKEY). This is required to fetch Jetpack metrics. Uses the following endpoint:
https://stats.wordpress.com/csv.php?api_key=1234567&table=views&end=2023-10-07&days=7&blog_id=123456&format=json - Go to the settings page and configure the plugin with your New Relic account ID and the site you want to fetch metrics for.
- Open the Metric Poster page (
/wp-admin/admin.php?page=metric-poster), choose your app and click on the “Get Metrics” button. - The metrics will be fetched and displayed in the page. You can copy the content and paste it in a P2 post.
Development
- PHP 7.4 or higher
- Composer (version 2.0 or higher)
# setup steps...
git clone <this repo>
cd metric-poster
composer install
Deployment method
To create a release, follow these steps:
- Update the version in the
composer.jsonfile. - Commit and tag the release (e.g.,
git tag 1.0.35). - Push the tag to the repository (e.g.,
git push --tags). This will trigger this project’s GitHub Actions workflow to create a release.
Once the release is created, you can fetch it to your WP project using composer like this:
{
    "repositories": [
        {
            "type": "package",
            "package": {
                "name": "automattic/metrics-poster",
                "version": "1.0.35",
                "type": "wordpress-plugin",
                "dist": {
                    "url": "https://github.com/Automattic/metrics-poster/releases/download/1.0.35/metric-poster-plugin.zip",
                    "type": "zip"
                }
            }
        }
    ]
}
⚠️ Important: For every new release, update the composer.json file with the new version number and the URL to the new release.
Plugin file structure
The plugin file structure should look like this:
metric-poster-plugin.zip
├── metric-poster.php
├── vendor
│   ├── autoload.php
│   ├── composer
│   ├── guzzlehttp
│   ├── ...
└── gutenberg-templates
    ├── post.tpl.html
    ├── post-no-header-footer.tpl.html
    ├── ... (you may add more templates here)
├── src
│   ├── class-newrelic-gql.php
│   ├── class-post-generator.php
│   ├── class-cron.php
│   ├── class-json-to-table.php
│   ├── UI
│   │   ├── class-settings-page.php
│   │   ├── json-table-converter.php
│   │   │   (metric-poster shortcode UI for page
│   │   │   https://wp-vip-omar.go-vip.net/json-to-gutenberg-table/)
├── .env.example (for local development, rename to .env)
├── composer.json
├── composer.lock
├── README.md
├── package.json
├── script.php
├── ...
Create a P2 post (Old method)
⚠️ Important: The Zapier hook is currently disabled. The script outputs HTML in the terminal, which you need to paste into the Gutenberg editor.
# php
# Run the script with the following parameters:
# --id: The ID of the application
# --week: The week number for which to fetch metrics
# --metrics: A comma-separated list of metrics to fetch
## Fetches all New Relic metrics with a title heading for P2.

# composer

## Gets all metrics (NR) with Title heading for P2.
composer nr-metrics

## Top errors (NR), no heading.
composer nr-errors -- --title false

## Swap out suffix as needed.
composer nr-404s
Available metrics
New Relic Metrics
- 404s
- 500s
- errors
- warnings
- cwv
- mobile cwv
- JP page views
- Top slow transactions
- Top UAs
- Slow queries
- Response time
- Apdex
- Throughput

